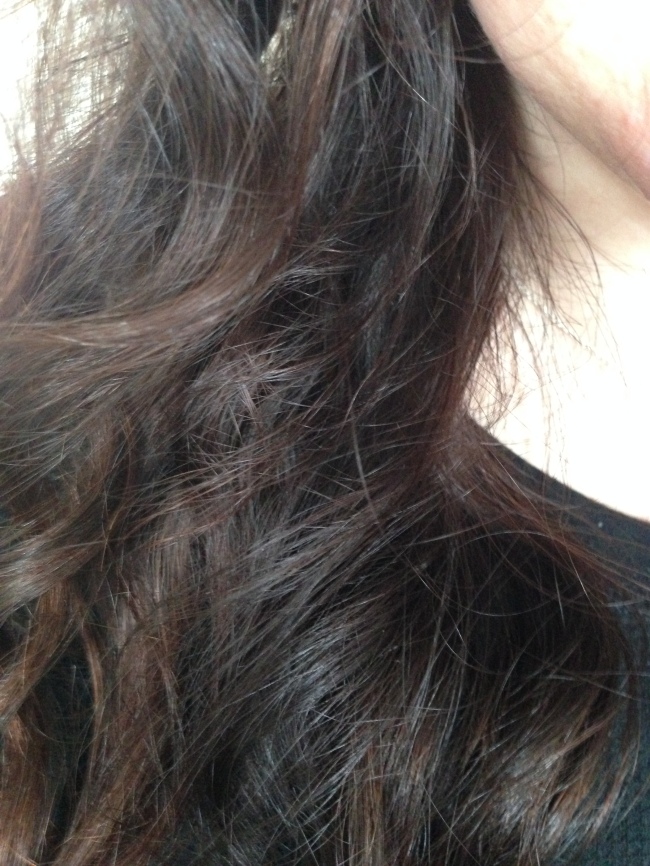
No heat curls seem to be the next big thing. And they should be, because they are- dare I say it- life changing.
I do my best to style my hair using heat as infrequently as possible. I have been growing my hair out since I cut 12 in off about 2 years ago. I use my straightener about once per month, and that is the only heat I put on my hair. Going (virtually) heatless has increased my hair health and speed to which my hair grows. However, my hair is naturally a very unflattering mix of frizzy, wavy and straight. So, I’ve had to get creative.
I have found several different no-heat curl methods that all seem to last the 5-6 days I go between washes. No heat curls seem to keep their curl much better than regular curls, at least this is true for my hair.
I plan on showing you a few of the methods I’ve found, but today I will stick to my current favorite. It can be found at this pin, or from this video.
(Yes, the photos in this post are awkward selfies. I am not a selfie taker but I just couldn’t find any other way to take these pictures. So please accept my apologies)
Step 1: With freshly washed and wet hair, part the top of your hair where you normally part it and divide in two sections. Twist each half away from your face.
Step 2: Secure twists with a clip on top of your head (or if your hair is longer with several clips). Let hair dry overnight or for several hours.
Step 3: Unclip your hair, and separate twists. I will usually put some mousse in the curls to help them hold. And Voila! You now have stylish, fun, no heat curls!
The picture of these curls was actually taken at the end of day two. That is how well they stay.
I either put my hair in a high messy bun, or a loose braid to sleep in between days when I wash (and subsequently curl) my hair.
Hope you enjoy these as much as I do!
~D


