DIY Dress Alteration

So I found this dress in the sale section at Gap.  It was the only one left, in my size and just $13.  I snatched it up and went to the dressing room with a few other items.  When i tried it on however, it was very big in the chest and stomach (you know, the area where most things are usually tightest on me).  I was confused and took the dress off disappointed.  I looked at the tag and realized it was a maternity dress.  Whoops.  I still really liked the style of the dress and I had a daytime wedding coming up that it would be perfect for, so I bought it with the hopes that I could take it in and make it fit.  And let me tell you, it came out perfect and was “sew” simple.  (Sorry, couldn’t resist).

The dress has an empire waist, a side zipper, and 2 darts (as opposed to 1 seam) up the back so I decided to take it in along the darts.  First I tried on the dress inside out and had my mom take it in equally at each dart and place just one pin at the waist.  Then following the lines of the darts took in the same amount of fabric as was pinned at the waist.  I tapered the lines off a little longer than the original darts.

2014-04-12 16.32.45

Then I made a seam along the lines of pins, pressed them towards the middle of the dress and turned it back right-side out.

That was it. Two-quick seams and I had a new, custom fitted dress.  Yay!

DSC_0220

DSC_0218

DSC_0219

DSC_0221


So don’t let clothes that don’t fit perfectly scare you.  If it fits all criteria but 1, there is usually a simple adjustment to make it work for you.  Good Luck!!

Leave a comment if you have ever purchased a sale item hoping to fix it yourself.

~D

Sharpie Mugs Debunked

If you’ve been on Pinterest for any length of time you have surely come across the “sharpie mug” or “sharpie plate.”  Each post seems to have a slightly different set of directions, some of which work, most of which don’t.  So if you would like to see what finally did work for me (along with my first failed attempt), keep reading.

First of all if you use regular sharpies, you will be sorely disappointed.

Your project will look good at first

Image

First attempt: after baking

But I could tell they weren’t going to hold up to washing, even hand washing.  I read that you can spray them with craft sealant.  I tried that, but after one good scrub this is what they looked like:

Image

First attempt: after washing

So I did a lot of research before I found a way that worked, FOR REAL.

First you need to use an oil based sharpie paint pen.  You can still use cheap dollar store plates/ mugs, but definitely, definitely spring for this more expensive sharpie.  You can find them at craft stores in a bunch of colors and tip sizes.

Image

Draw you’re design on the mug.  Put items in a cool oven.  Turn oven on to 400.  Once oven reaches the temp, bake  for 30 minutes then turn off.  Leave items in oven until they cool.  And Voila!

Image

The high oven temp, does change the color of the paint slightly.  Those states were outlined in a light blue originally, and are now slightly green.  But I have no doubt they will last for a long time!  (If you want to avoid the color change, try black.  The pink seemed to hold up well for me too!)

Image

Now that you know the truth, get out there and make some fun cheap sharpie mugs and plates!

Have fun!

~D

Happy Handwriting

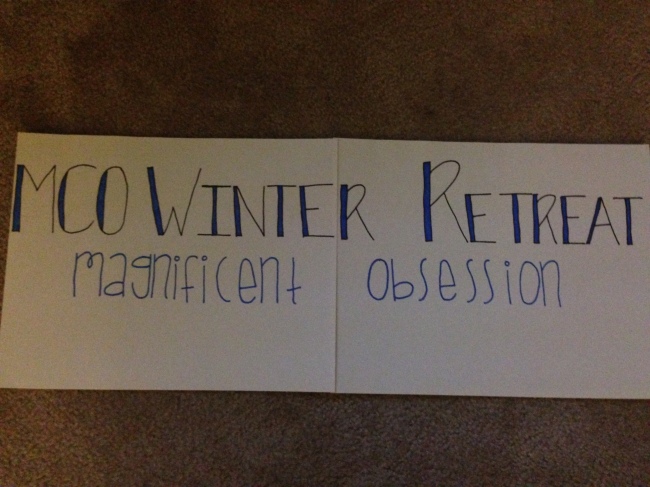
A few weeks ago, I was given the task of making a poster to welcome students to the MCO winter retreat.  (MCO is a campus ministry I am a part of at the medical university I attended).

I have several fonts I can write in, but wanted to do something different.  So I turned to Pinterest, and searched for handwriting fonts.  I was not disappointed.

I found this font, which worked perfectly:Image

(If someone knows where exactly this picture came from, let me know so I can link back to the actual site.  I can’t seem to locate it and want to give credit.  Thanks!)

I have since used this font for other things.  Here is a picture of the poster I made, using a block lettering for the heading, and my new font for the subtitle.

Image

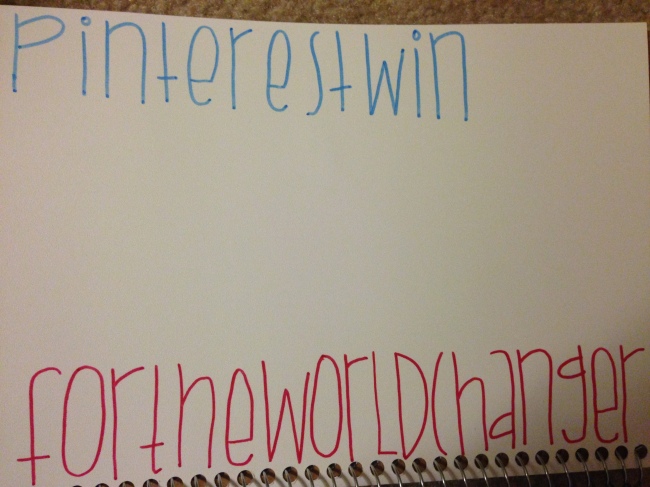
I also used it to label the inside of my planning notebook for this blogeroo and my etsy shop:

Image

I love when Pinterest saves the day!

Happy pinning!

~D

Pampered Pups

So I have these two dogs.  They are small, and fluffy, and white.  And as is typical of small, fluffy, white dogs: they are SPOILED!

Especially by me (as they live with my mom 2 hours away).  So when I get to see them, I treat them like the King and Princess they are.

Image

I mean, seriously, who wouldn’t spoil them?!

Anyway, I decided to make them a(nother) dog bed after seeing this pin.

The directions are simple and easy to follow.  I’ll let you read them and just tell you what I did differently.

First I used two flannel baby blankets which were about 1 square yard each.

2013-08-17 13.17.01

Second I only cut the strips 2 in instead of 4, so there was more bed area.

Lastly, I wanted to stuff the bed with old t-shirts so make it more washable.  But, even between my mom and I, we didn’t have enough to fill it up, so I just used an old pillow instead.  It was the perfect size!

2013-08-19 11.25.03 2013-08-19 11.25.10

I think the pups liked it too!

2013-08-19 11.28.39

OK so Goober looks a little more confused here than happy, but the bed grows on him.  See.

2013-08-20 09.22.26

Gracie liked it too, especially when she could bully it away from her big brother!

2013-08-19 11.27.43

Love them!

~D

New Life to Old Clothes

I found Merrick’s blog from a pin to this tutorial.  I loved it.  I was able to take 2 perfectly good pairs of pants from the goodwill pile and reintroduce them to my wardrobe in a much more flattering way.  (Unfortunately, I didn’t think to take pictures).

I loved her blog and her refashion ideas so much though that I used this tutorial to change a t-shirt and maxi dress into a cute new summer dress.

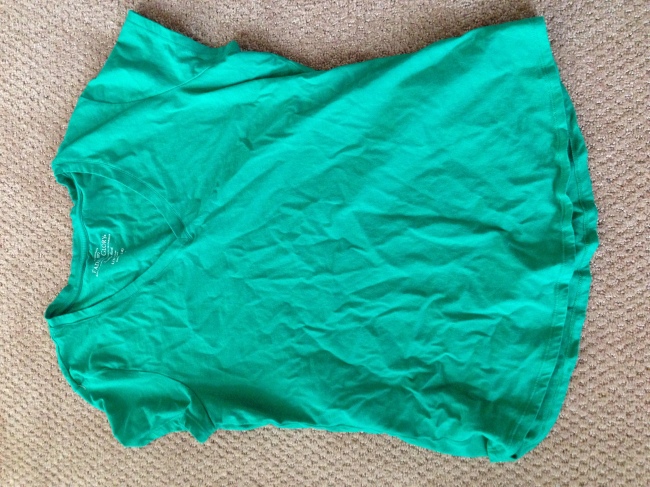
I had a strapless maxi dress that was not very flattering and was obviously a style from a few years ago, but I just couldn’t part with it because it was linen and had a pretty watercolor design on the bottom.  I also had a plain t-shirt from Walmart that I bought to be in a show at church, that was a little short and thus I would probably never wear it.

But with a few new seams and adjusting the elastic casing I now have a dress I love and wear!

BEFORE:

Image

Image

AFTER:

Image

The elastic waist hits at the most flattering part of my waist and the hem is just above my knee.  Such a great way to give old clothes new life!

~D